DIY Twig Christmas Tree
When it comes to making Christmas crafts, I've always loved the unique ways that actual nature tin exist used. Of course, you can become crafty with natural things plant in your backyard any time of twelvemonth, but I find the idea works specially well around Christmas. I've been particularly enamoured lately with the idea of crafting Christmas ornaments made of twigs! That'south why I made this adorable twig Christmas tree, which turned out so perfectly that I ended up make some other ane and documenting the process, just to brand sure everyone else can see how it was done as well.

Bank check out these step by step instructions consummate with photos! If you'd rather follow forth with a video tutorial instead of written words, scroll to the lesser of this mail service to find just what yous're looking for.
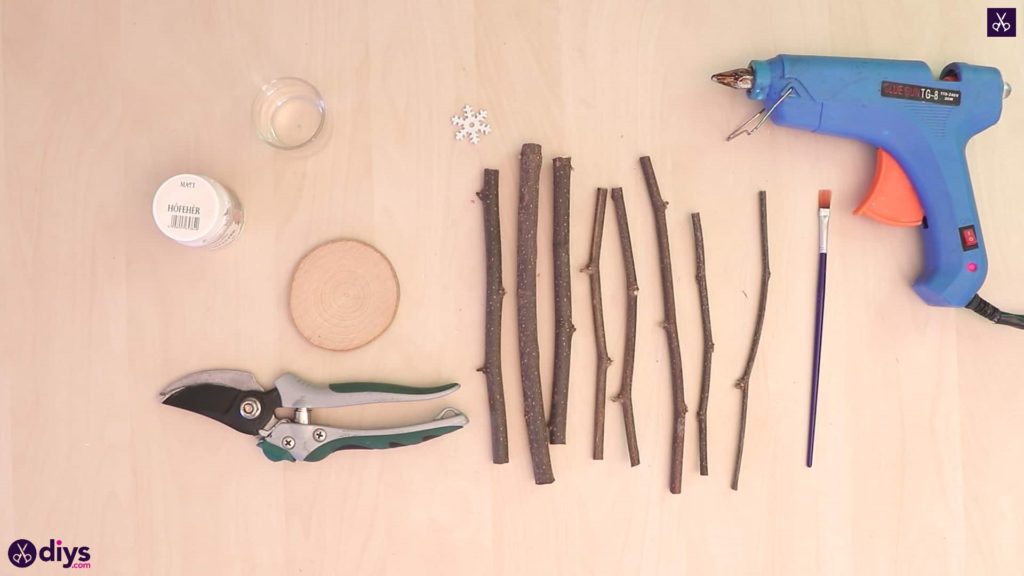
For this project, y'all'll need:
- A wooden disc
- Twigs
- A snowflake shaped sequin
- Hot glue
- Paint (white)
- A paintbrush
- Secateurs
Step 1: prep
Gather your materials!
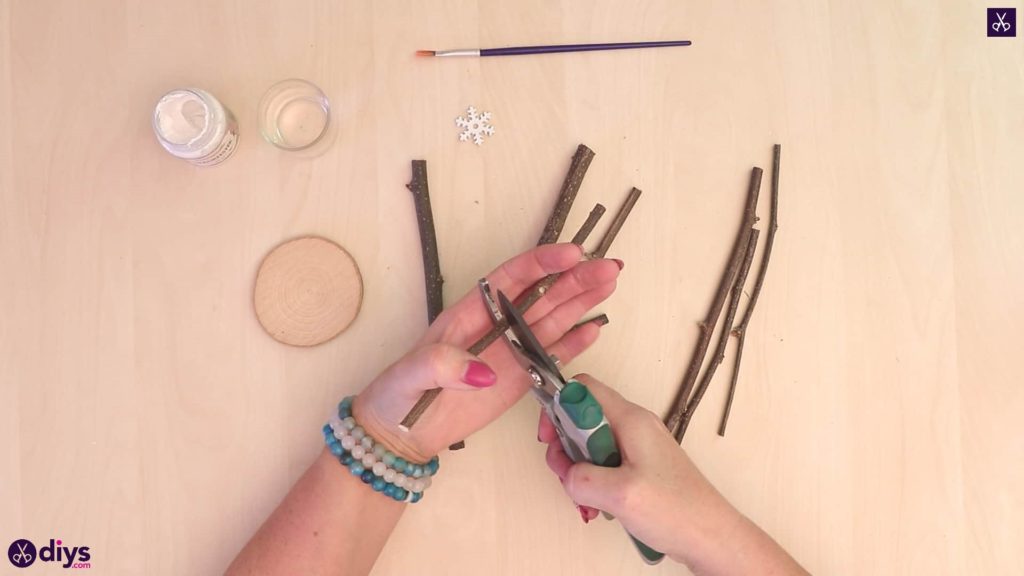
Stride 2: cut the twigs
Utilize your secateurs to cutting your twig or twigs into smaller pieces. I kept some long, trimmed some down medium sized by cutting the, a picayune shorter, and also trimmed some much smaller ones, so I had a whole range of twigs in decreasing lengths.
Step 3: pigment the base
Use your paintbrush and white paint to make the top surface of your wooden disc white like snow. This will be the base of operations that your twig tree stands on. Set it aside to dry.

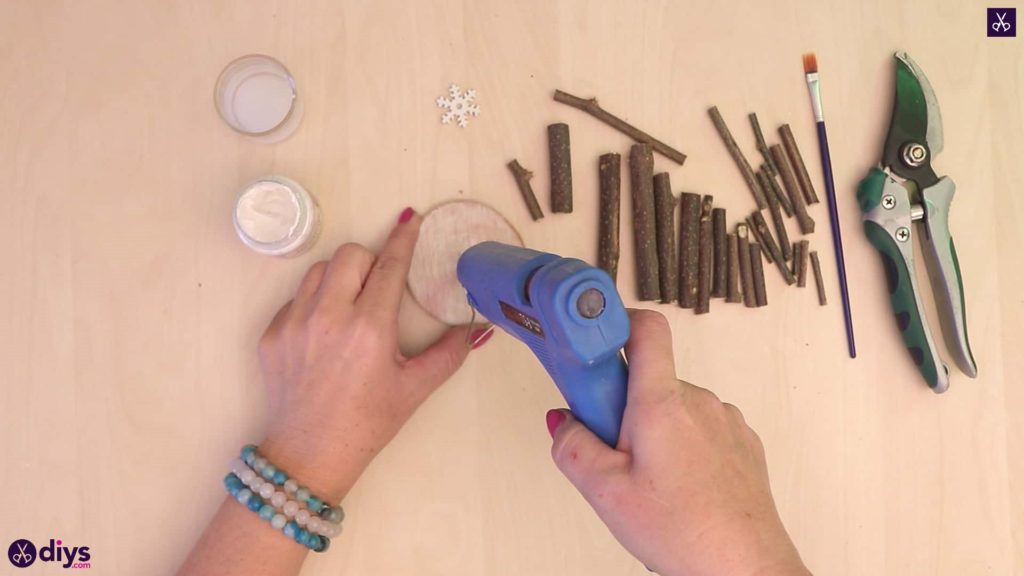
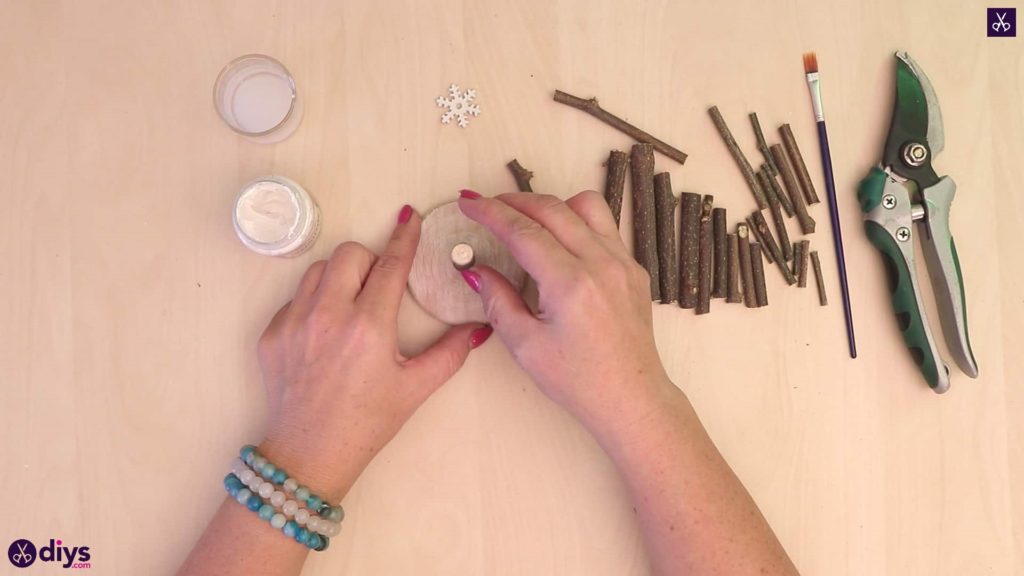
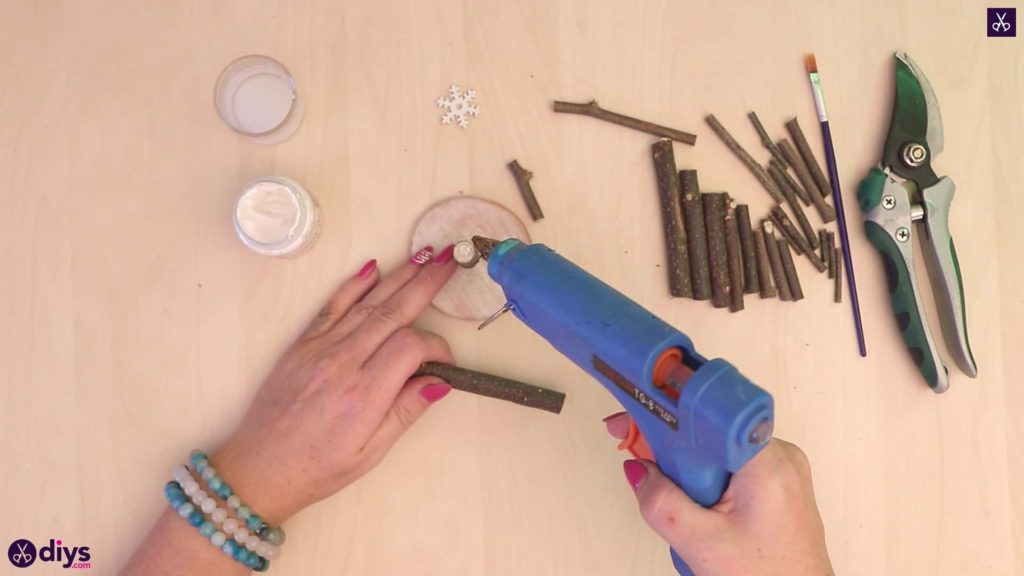
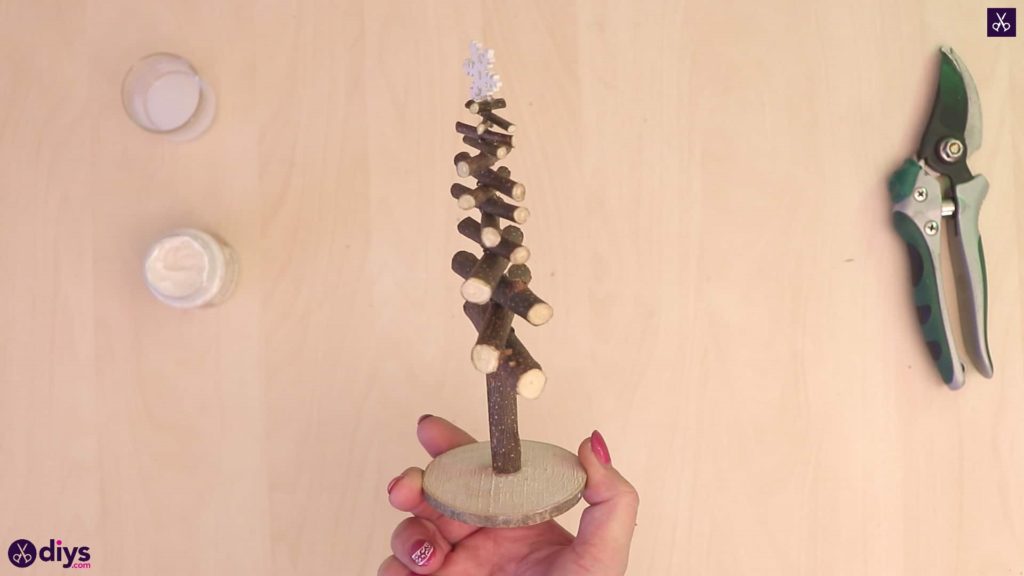
Footstep 4: make the body
In one case your white paint has dried, employ hot glue in the center of your wooden disc. Then stick a piece of twig downwards on its end so it stands up. This will be your twig' tree's trunk. I chose a piece that was a petty shorter and thicker.
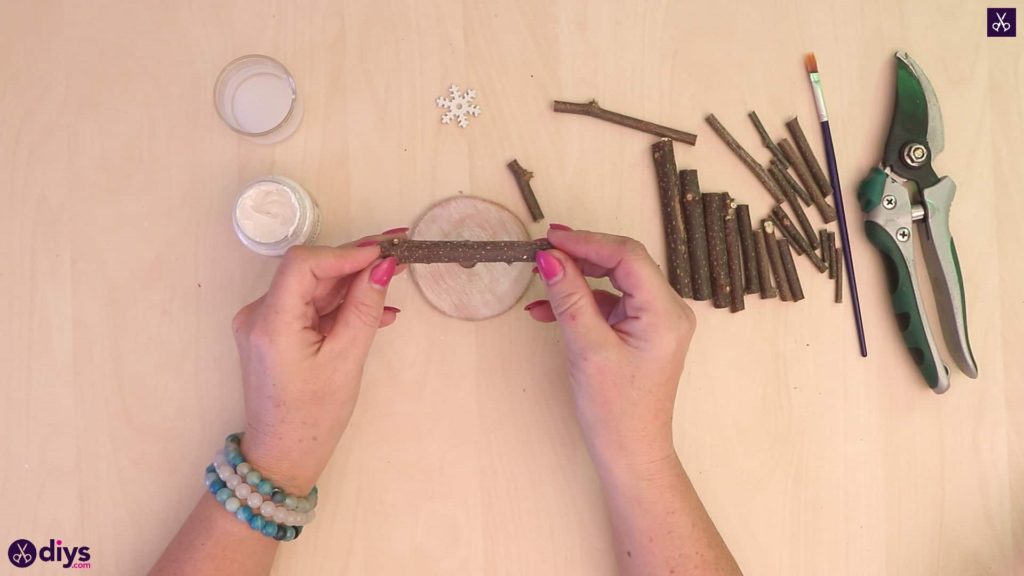
Step 5: showtime the shape
Employ gum on the meridian cease of your torso twig and stick another twig piece downwardly horizontally on top, and then the 2 sit perpendicularly. I chose one of the longer pieces.
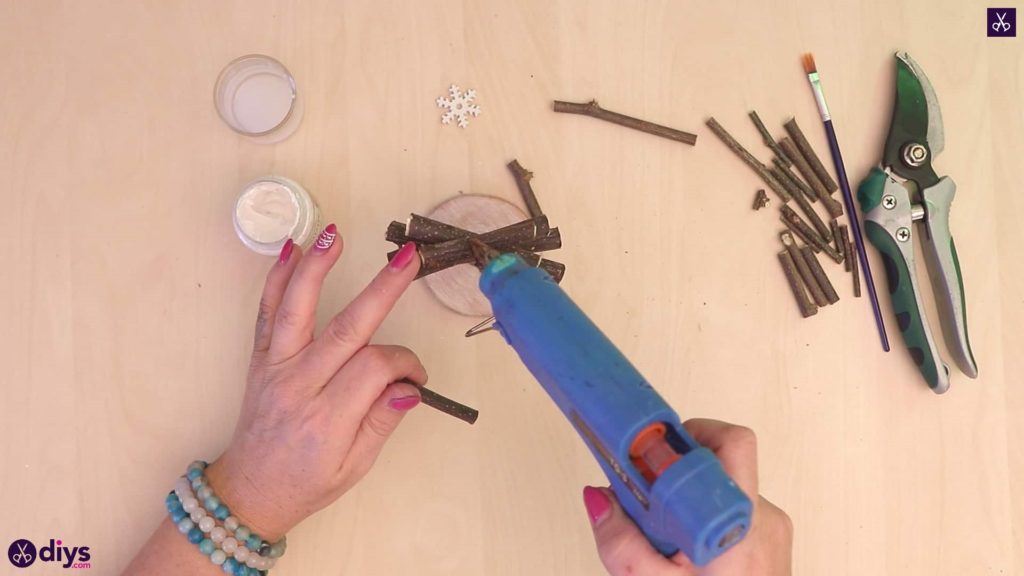
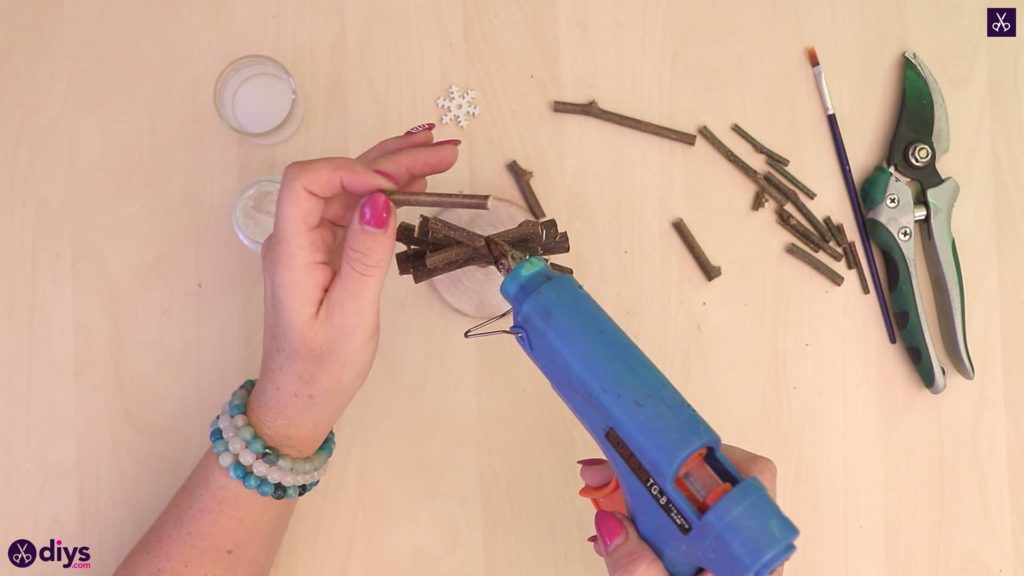
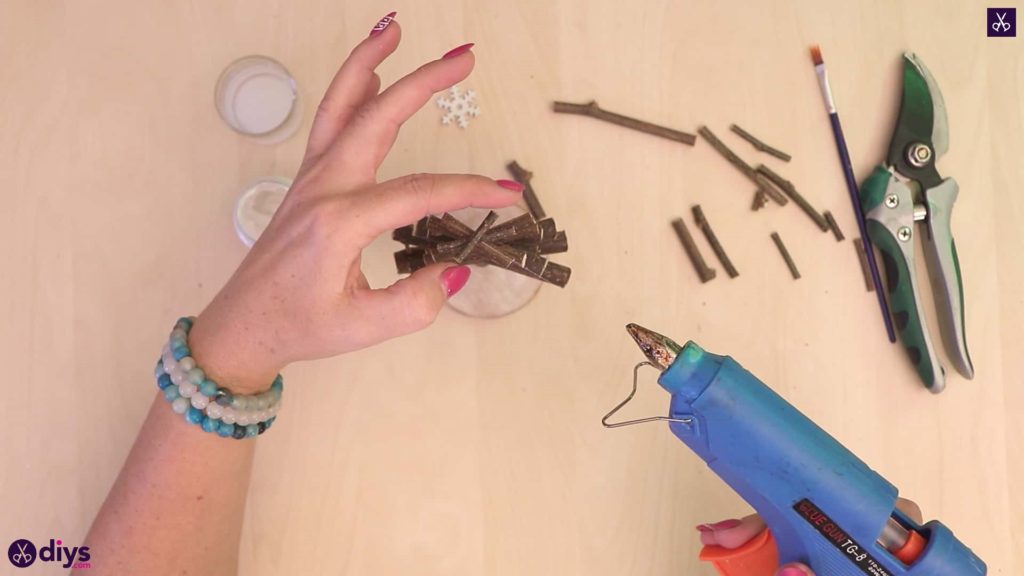
Pace 6: stack
Utilize mucilage on that horizontal twig in the center and stick down another twig, around the same size or a little smaller. Turn the twig slightly so it sits at a slightly different angle than the showtime ane. Repeat this procedure over and over, building the tree upward and turning each slice as you lot stick it down so that all the ends prove at different angles and create a shape like tree branches all the style around. Y'all'll as well decrease the size of your twigs as you work your way upwards, sticking down a smaller piece each time the manner a tree really tapers.
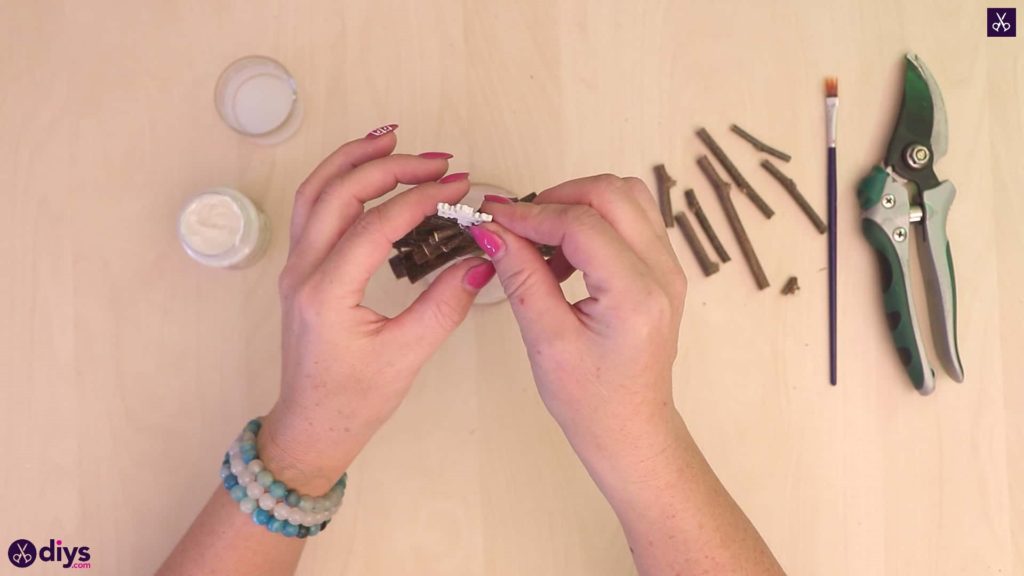
Step 7: add details
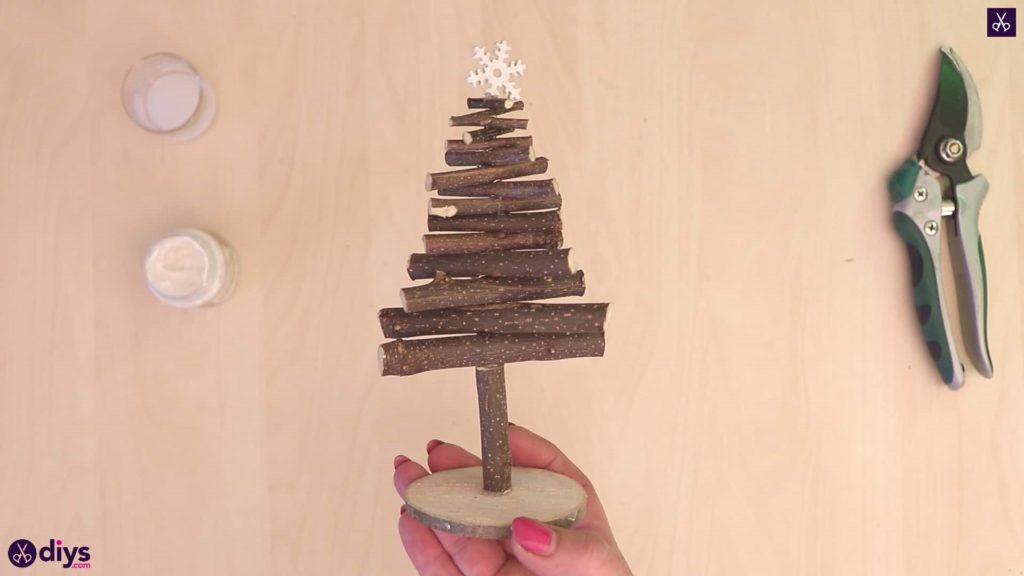
Use glue to the middle of your last, top twig and stick the top of your snowflake sequin down in that location, and so it sticks upwards like a star on peak of a Christmas tree.
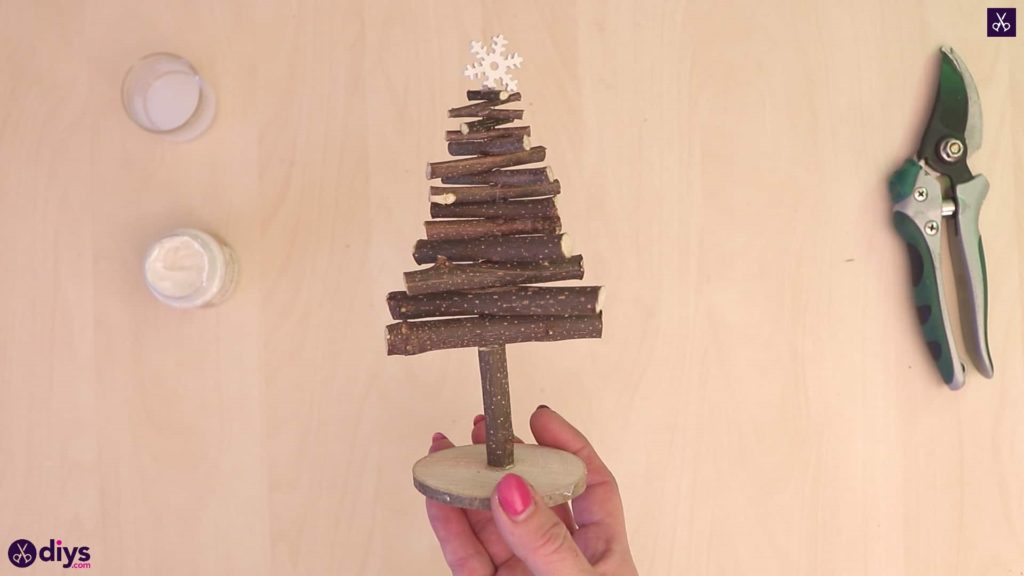
You're all finished! I fabricated several trees and set them all along my mantel. But in case y'all'd similar to endeavour this project out for yourself, hither'south a fantastic tutorial video to aid y'all!
Source: https://www.diys.com/twig-christmas-tree/
Postar um comentário for "DIY Twig Christmas Tree"